
How to clean a walk-in freezer properly is crucial for ensuring food safety, improving operational efficiency, and avoiding preventable accidents. Nevertheless, cleaning a walk-in freezer floor demands special attention due to the challenges posed by low temperatures, slippery surfaces, and the potential buildup of ice and grime. Additionally, maintaining features like a well-sealed walk-in cooler door is equally important to prevent warm air from entering, which can contribute to ice buildup and inefficiency. Without proper cleaning techniques, you risk damaging the floor, causing accidents, or even jeopardizing the overall functionality of the freezer.
This guide provides a step-by-step approach to safely and effectively clean the floor of a walk-in freezer, incorporating the right techniques and tools for the job. We’ll also address specific concerns related to how to clean a walk-in freezer floor and how to mop a freezer floor while keeping safety a priority.
Why Cleaning a Walk-In Freezer Floor Is Important
Regular cleaning of your walk-in freezer floor is crucial for several reasons:
- Safety: Ice and grime buildup can create slippery surfaces, increasing the risk of slips and falls.
- Hygiene: Spilled food, liquids, and debris can lead to bacterial growth, which compromises food safety.
- Efficiency: A clean floor reduces wear and tear on the freezer, helping it maintain consistent temperatures.
- Compliance: Regular cleaning ensures adherence to health and safety regulations, especially in foodservice and retail businesses.
Preparing to Clean the Walk-In Freezer Floor
1. Gather the Right Supplies
Before starting, ensure you have the proper tools and materials for cleaning:
- A mop with a wringer or microfiber mop.
- A non-slip floor mat (for safety during cleaning).
- A bucket with warm water and a mild, non-corrosive cleaning solution.
- A scraper or plastic spatula for removing ice or debris.
- Absorbent towels or cloths for drying.
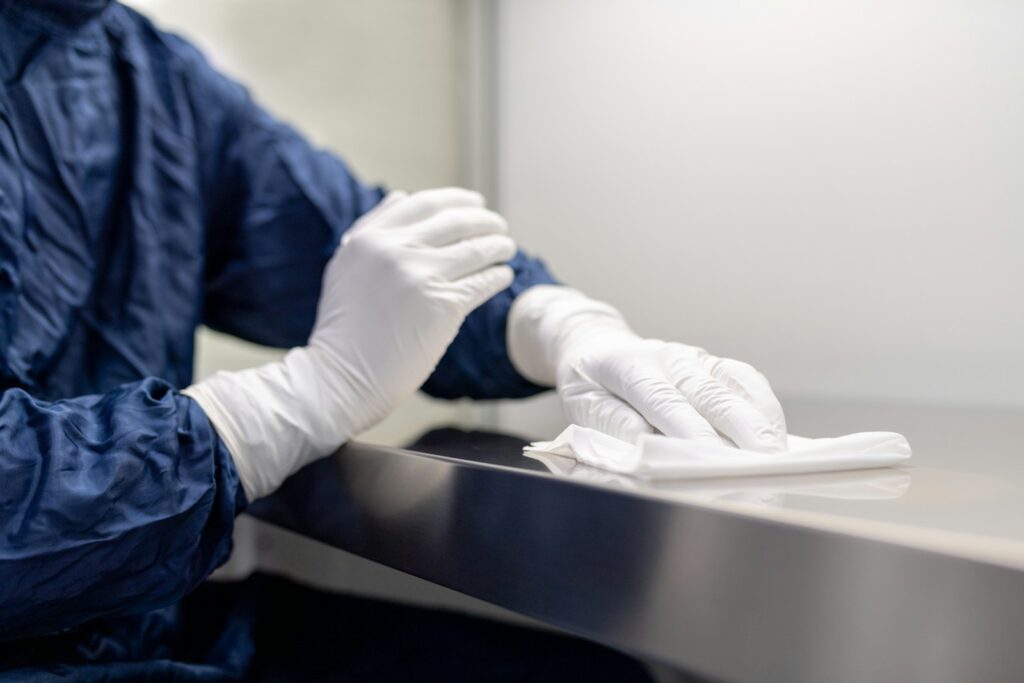
- Rubber gloves, insulated footwear, and other safety gear.
Important Note: Avoid using abrasive cleaning agents or tools that can damage the freezer floor.
2. Turn Off the Freezer Temporarily (If Possible)
If your operations allow, temporarily turn off the freezer to raise the temperature slightly. This prevents cleaning water from freezing instantly and makes ice removal easier. If turning off the freezer isn’t an option, proceed carefully and use minimal water to avoid ice formation.
3. Remove Products and Debris
Clear the area by removing any stored products, boxes, or crates. Sweep the floor to remove loose debris, such as crumbs, packaging, or ice chunks, before you begin mopping.
Step-by-Step: How to Clean a Walk-In Freezer Floor
Step 1: Scrape Off Ice Buildup
- Use a plastic scraper or spatula to remove any ice patches or frozen spills stuck to the floor. Avoid using metal tools, which can damage the surface.
- Collect the chipped ice into a dustpan or bucket for disposal.
Step 2: Prepare a Mild Cleaning Solution
- Mix a mild, non-corrosive cleaning solution with warm water in a bucket. Ensure the solution is safe for freezer environments and complies with food safety standards.
Step 3: Mop the Freezer Floor Carefully
When addressing how to mop a freezer floor, follow these best practices:
- Dip the mop into the cleaning solution and wring it out thoroughly to avoid excess water pooling on the floor.
- Mop small sections of the floor at a time, applying gentle pressure to lift grime and residue.
- Focus on heavily trafficked or stained areas but avoid soaking the floor, as water can freeze quickly.
Step 4: Dry the Floor Immediately
- Use absorbent towels or a dry mop to remove any excess moisture immediately after mopping.
- Drying the floor promptly prevents ice from forming and ensures safety during use.
Step 5: Inspect the Floor for Residual Ice or Grime
- After drying, inspect the floor for any missed spots or residual ice.
- Repeat the cleaning process for stubborn areas, using a scraper if necessary.
Step 6: Restore and Organize the Freezer
- After the floor is completely clean and dry, you should then proceed to replace all products and crates in an organized manner.
- Check the temperature settings before turning the freezer back on (if it was turned off).
Tips for Maintaining a Clean Freezer Floor
- Clean Spills Immediately: Address spills and leaks as soon as they occur to prevent ice and bacterial buildup.
- Use Non-Slip Mats: Place mats strategically near the freezer entrance to minimize the amount of dirt and water being tracked inside, thereby helping to maintain a cleaner and safer environment.
- Schedule Regular Cleanings: To ensure consistent hygiene and efficiency, it is important to establish a regular cleaning routine.
- Inspect Drain Lines: Ensure the freezer’s drain lines are unclogged and functional to prevent standing water.
- Use the Right Tools: Invest in freezer-safe cleaning tools and solutions to avoid damaging the floor.
Common Mistakes to Avoid When Cleaning a Walk-In Freezer Floor
- Using Too Much Water: Excessive water can freeze quickly, creating a safety hazard and making the cleaning process more difficult.
- Using Abrasive Tools or Cleaners: These can damage the floor’s protective coating and reduce its lifespan.
- Neglecting Safety Gear: Always wear insulated footwear and gloves to protect yourself from the cold and prevent slipping.
- Skipping Regular Cleanings: Infrequent cleaning allows grime and ice buildup, making the job harder and less effective over time.
Conclusion: Keeping Your Walk-In Freezer Floor Safe and Clean
A clean walk-in freezer floor is, without a doubt, essential for maintaining a safe, hygienic, and efficient workspace. By carefully following the steps outlined above, you can not only ensure that your freezer operates smoothly but also confirm compliance with health and safety standards. Moreover, regular maintenance combined with proactive cleaning habits will ultimately save you time, reduce costs, and prevent potential headaches in the long run.